
HOW TO: Fix a dripping tap – A beginner’s guide
- Jul 22, 2025
- 3 min read
A dripping tap isn’t just annoying – it wastes water and money too. The good news? You don’t always need a plumber. If you’re handy with a spanner and don’t mind getting under the sink, it’s a job most DIYers can sort in under an hour.
In this guide, we’ll walk you through how to fix a dripping tap, step by step. Whether it’s a traditional washer tap or a modern mixer with ceramic discs, we’ll help you figure out what’s what – and what you’ll need to fix it.
Everything mentioned here is available in-branch at Youngs, so if you’re unsure about what part to pick up, just pop in and have a chat with the team.
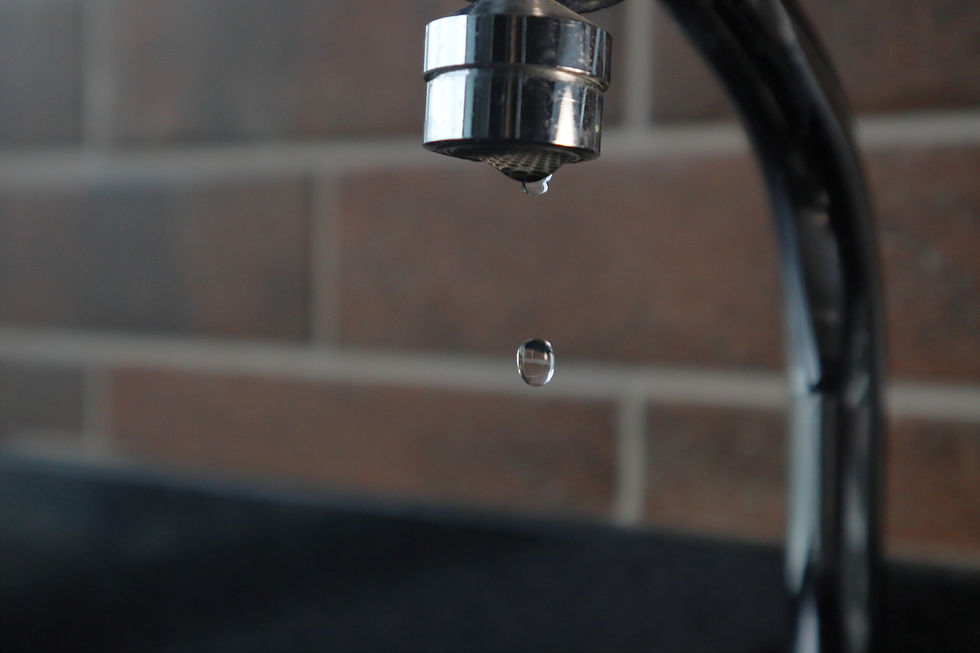
What’s causing the drip?
Drips usually come from one of these common faults:
A worn washer (on traditional compression taps)
A damaged ceramic disc (on mixer or monobloc taps)
A faulty O-ring or valve seal
Figuring out the type of tap you’ve got is the first step.
Step 1: Identify your tap type

Compression Taps
These have separate hot and cold handles that you twist to turn on. Inside, they use a rubber washer that presses down to stop water.
Ceramic Disc Taps
Often found on modern mixer taps. They feel smooth and only need a quarter or half-turn to open. Inside are ceramic discs that control water flow.
Mixer Taps
Combine hot and cold water into one spout – can be compression or ceramic disc style.

Step 2: What you’ll need
You don’t need a big toolbox – most of these items are available from any Youngs branch:
Tools:
Adjustable spanner or tap spanner
Flathead and Phillips screwdrivers
Hex key (Allen key)
Cloth or towel
Bucket or small container (to catch drips)
Replacement parts (check your tap type first):
Washers (rubber or fibre)
O-rings
Ceramic disc cartridges
PTFE tape (for resealing threads)
Step 3: Turn off the water supply
Find the isolation valve under the sink (a small lever on the pipe). Turn it 90 degrees to shut off the water.If there’s no isolation valve, you’ll need to turn off the mains.
Open the tap fully to release pressure and drain any water left in the pipes.

Step 4: Dismantle the tap
Remove the tap handle
Use a screwdriver or Allen key to remove the handle. Sometimes the screw is hidden under a small cap or indicator.
Take off the cover
Unscrew any decorative shrouds or metal covers to reveal the valve or cartridge.
Loosen the valve
Use a spanner to unscrew the valve body. Wrap a cloth around it to protect the chrome if needed.
Step 5: Replace the faulty part
For compression taps:
Remove the old washer from the bottom of the valve and replace it with a new one the same size. Check the O-ring on the valve stem while you’re at it.

For ceramic disc taps:
Take out the cartridge and replace it with an identical one. Bring the old one into branch if you're unsure – there are lots of slightly different sizes.
Add PTFE tape to threaded connections to help prevent future leaks.
Step 6: Reassemble and test
Put everything back in the reverse order.
Turn the water supply back on slowly and check for leaks. Turn the tap on and off to make sure the drip has gone and everything feels as it should.
Not sure what you need? Pop in.
Every tap is a little different – if you're not sure what washer or cartridge you need, bring the part into your local Youngs branch. We’ll help you match it and make sure you go home with the right gear.
You’ll find all the fixings, tools and parts you need in branch, including:
Washers and O-rings
Ceramic disc cartridges
Tap spanners
PTFE tape
Screwdrivers, Allen keys and more


